NetBeans is an open-source IDE (Integrated Development Environment) for developing and modifying applications based on Java, PHP, JavaScript, C++, and some other programming languages. It also helps to develop enterprise-level applications which need fully-featured interfaces. NetBeans can be installed and used on all OS platforms which support Java like Linux, Windows, MacOS, etc. It has got various features including built-in debugging support, error checking, syntax highlighting, code completion, etc.
If you need to install NetBeans on your Ubuntu OS, you can do so using different ways. In this post, we will cover:
- Installing NetBeans using apt (Command Line)
- Installing NetBeans using Software Center (GUI)
- Install NetBeans IDE by downloading the archive source code
- Install NetBeans IDE using snap
This post has been written for Ubuntu 20.04 LTS (Focal Fossa).
Pre-requisite: Install Java
For NetBeans, you will need Java 8 or later to be installed on the system. More details on how to install and configure Java on Ubuntu. To install Java on your system, launch the Terminal, and execute this command:
$ sudo apt install openjdk-8-jdkEnter the sudo password and then it will start installing Java on your system.

Once installed, you can verify the installation of Java using this command:
$ java -versionThe following output verifies that java has been successfully installed on or system.

Method#1 Installing NetBeans using apt (Command Line)
The easiest way to install NetBeans is using the apt utility. This method installs the older version of NetBeans that is version 10.
1. First, enable the universe repository using this command in Terminal:
$ sudo add-apt-repository "deb http://archive.ubuntu.com/ubuntu focal universe"2. Update the repository index using the following command:
$ sudo apt update3. Now, in order to install NetBeans in your system, use this command:
$ sudo apt install netbeansNow the installation of NetBeans will be started. It can take a bit of time depending upon your connection speed.

Once NetBeans is installed, you are ready to use it.
In order to launch NetBeans, hit the super key and type netbeans in the search bar. When the search result appears, click the NetBeans icon to launch it.

You will see the following default view of NetBeans.

Method#2 Installing NetBeans using Software Center (GUI)
NetBeans can also be installed via Ubuntu Software Center. This method installs the latest version of NetBeans that is version 12.3.
1. Launch Software Center in your system. You can launch it by searching it from the Dash menu.

2. In the Software Center window, click the search icon and type netbeans in it. From the search results, click the Apache NetBeans icon as can be seen in this screenshot.

After clicking the Apache NetBeans icon, you will see an Install button under it. Click it to install NetBeans on your system.

Then it will prompt you to enter the password for authentication. Enter the password and then the installation of NetBeans will be started. It can take a bit of time depending upon your connection speed.

Once NetBeans is installed, you are ready to use it.
Method #3: Install NetBeans IDE by downloading the archive source code
Using this installation method, you can install the latest Netbeans version 12 on your system. Or you can download the latest available NetBeans version manually from the official apache netbeans website. Follow the following number of steps to install netbeans using the source code method:
Step 1: Download the netbeans archive
Issue the below-mentioned ‘wget’ command to download the latest version of Netbeans 12 archive the on Ubuntu 20.04 system:
$ sudo wget https://downloads.apache.org/netbeans/netbeans/12.4/netbeans-12.4-bin.zip
Once the zip archive is downloaded, verify the file download process by running the below-mentioned command:
$ lsStep 2: Extract NetBeans zip archive
Extract the netbeans zip file on your system by using the following terminal command:
$ unzip netbeans-12.4-bin.zip
Again, list the created directory content for verification as follows:
$ ls netbeans
Step 3: Adjust NetBeans files PATH
Move the netbeans directory to /opt by running the below-mentioned command:
$ sudo mv netbeans/ /opt/
The executable netbeans binary is located at the ‘/opt/netbeans/bin/netbeans’ path. So, adjust the $PATH environment variable for the NetBeans files. Open the ‘~/.bashrc’ file in any source code editor tool:
$ sudo nano ~/.bashrcPaste the given path at the end of the file as follows:
export PATH="$PATH:/opt/netbeans/bin/"
Now, source the file via the following command:
$ source ~/.bashrcStep 4: Create desktop launcher for Netbeans IDE
Now, create the desktop launcher for NetBeans IDE. For that purpose, you will create a file at the given location by typing the following command as follows:
$ sudo nano /usr/share/applications/netbeans.desktopPaste the following lines inside the file:Advertisement
[Desktop Entry]
Name=Netbeans IDE
Comment=Netbeans IDE
Type=Application
Encoding=UTF-8
Exec=/opt/netbeans/bin/netbeans
Icon=/opt/netbeans/nb/netbeans.png
Categories=GNOME;Application;Development;
Terminal=false
StartupNotify=true
Save the above configuration and close the file.
Step 5: Launch NetBeans IDE on Ubuntu 20.04
To start the NetBeans IDE 12 on Ubuntu 20.04 system, go into the application menu and then search ‘netbeans IDE’ in the application search bar as follows:

You can also launch NetBeans IDE using the terminal by typing the following command:
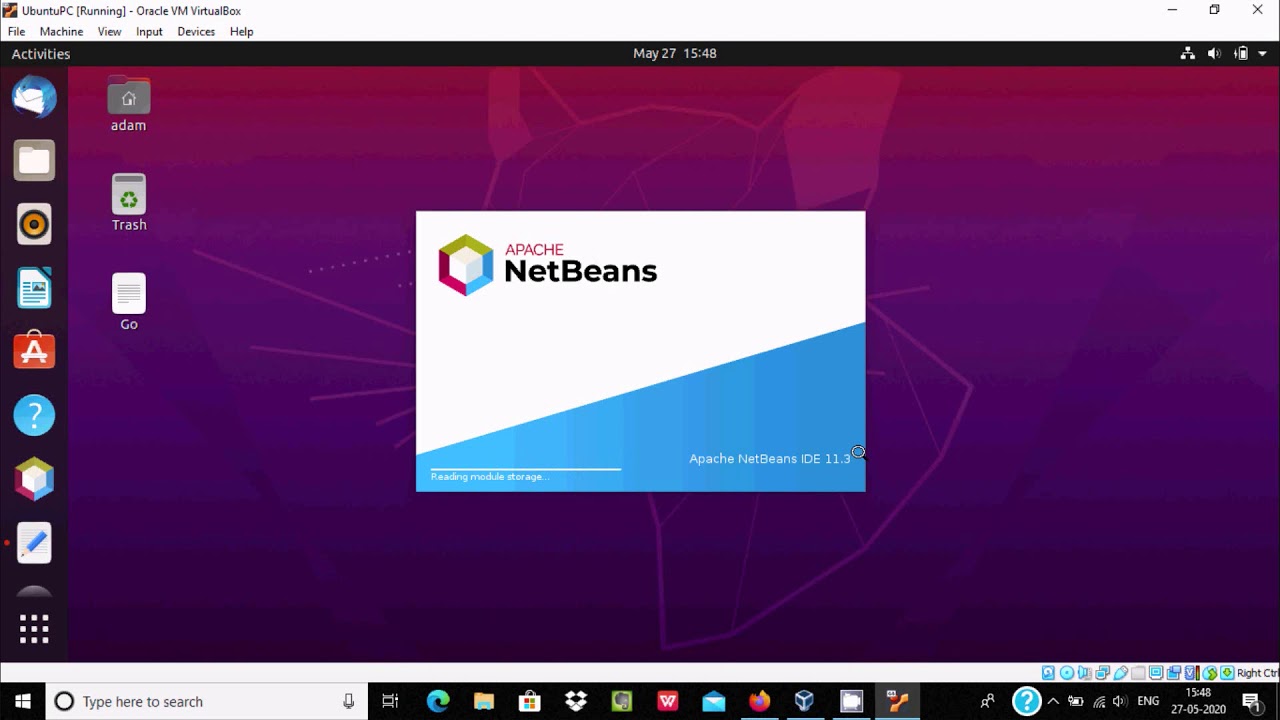
$ netbeansThe following loading NetBeans IDE modules window will show on the desktop at the start:

After loading all NetBeans modules, the following interface shows on the desktop:

Method #4: Install NetBeans IDE using snap
Using the snap application, NetBeans IDE can also install on Ubuntu 20.04 system. Print the installed snap version through the following command:
$ snap version
Now, by executing the following command, install netbeans IDE via the snap application:
$ sudo snap install netbeans --classic
Remove NetBeans
In case, you no longer need NetBeans on your system, you can remove it as follows:
$ sudo apt remove netbeansIf you have installed NetBeans via Ubuntu Software Center, you can remove it as follows:
Launch Software Center from the Dash menu. In the Software Center Installed tab, look for NetBeans applications. Now to remove the NetBeans application, click the Remove button. Then enter the authentication password and click the Authenticate button. Now NetBeans will be removed from your system.
Conclusion
We installed the NetBeans IDE in this article on Ubuntu 20.04 using different ways. Users can choose one method for installation from all of the above-mentioned methods. However, remember the apt install the older version 10 of NetBeans while the Software Center installs the latest version 12.3.
For more technical knowledge about the netbeans tutorials, you can visit this page.